When I've got scraps of fabric leftover from a larger sewing project I like to use them up straight away. I find if I leave them languishing in my fabric stash they tend to get forgotten about and maybe end up in the scrap quilt I might maybe one day get round to making (yeah right). Whereas if I put them to use straight away and make an accessory to go with the garment I've sewn they get used and enjoyed instead of being forgotten.
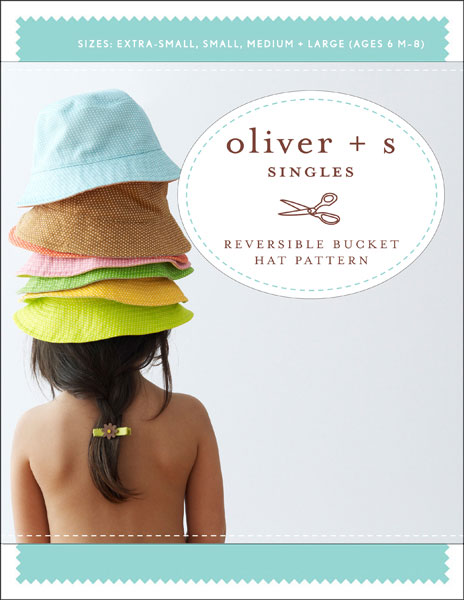
This pattern was free when I downloaded it about 6 months ago but unfortunately Oliver and S are now charging for it. There are other free bucket hat patterns availible if you have a Google for them.
This hat is availible from my NuMonday shop in a variety of different fabrics. They're just £7.99 each.
Or you can make your own using the materials below:
Tools and Materials:
I earn a small commission when products are purchased through the links I post here (at no additional cost to you).
I'm using this beautiful cotton needle cord fabric. I love using needle-cord for rompers which is the project that produced these leftovers. It's such a hard-wearing fabric, perfect for rough and tumble play. But it's also buttery soft and comfortable.
This is a size medium which is 3 - 5 years.
The seam allowance is 1/2".
Assembling the Cap
Side panels are sewn right side together.
After sewing the side seams I've pressed the seams open and trimmed the excess seam allowance.
The sides are then sewn onto the crown.
I've clipped the curves and pressed the seam allowances to the sides.
They are top stitched in place.
And the same again for the lining fabric.
Sewing on the crown can look tricky.
But with time and care it's simple.
The top stitching not only gives a neat professional looking finish, it helps the seam allowance to stay put.
Make and Attach the Brim
Side seams first again.
I decided to skip the interfacing as I thought the needle cord would be sturdy enough on it's own. With hindsight the interfacing would have made the brim stand out more thereby giving more protection from the sun for Little Pickle.
Then the brim is sewn to the lining around the outer edge. I've clipped the curves.
Then turned, pressed and top stitched.
Then I stitched the brim onto the sides of the outer fabric cap.
The rim of the cap lining is pressed tot he wrong side.
Then the lining is pinned and slip stitched in place.
I added a line of top stitching around the sides to secure the brim.
Look how neat that lovely lining is. I'm loving my little label too.
This hat is availible from my NuMonday shop in a variety of different fabrics. They're just £7.99 each.
Or you can make your own using the materials below:
Tools and Materials:
I earn a small commission when products are purchased through the links I post here (at no additional cost to you).
#simplycrafting #numonday #buckethatcustom #kidssunhats sewistsofinstagram


