Change Mat Cover Sewing Project


Why aren't change mat covers more popular?  Do people really change their babies on these cold pieces of plastic?  And what about cleaning up?  The plastic is slightly porous so a wipe down with antibacterial cleaner isn't going to get it completely clean - yuk!


So here's my very simple solution made form an old towel that would otherwise have ended up in the bin.


I've started by cutting the towel and backing fabric to a size a little larger than the change mat.


I've hemmed one of the short edges - the towel's edge has saved me a job so I've only had to hem the backing fabric.


I've pinned the towel and the backing fabric, right sides together and sewn around the remaining three sides.


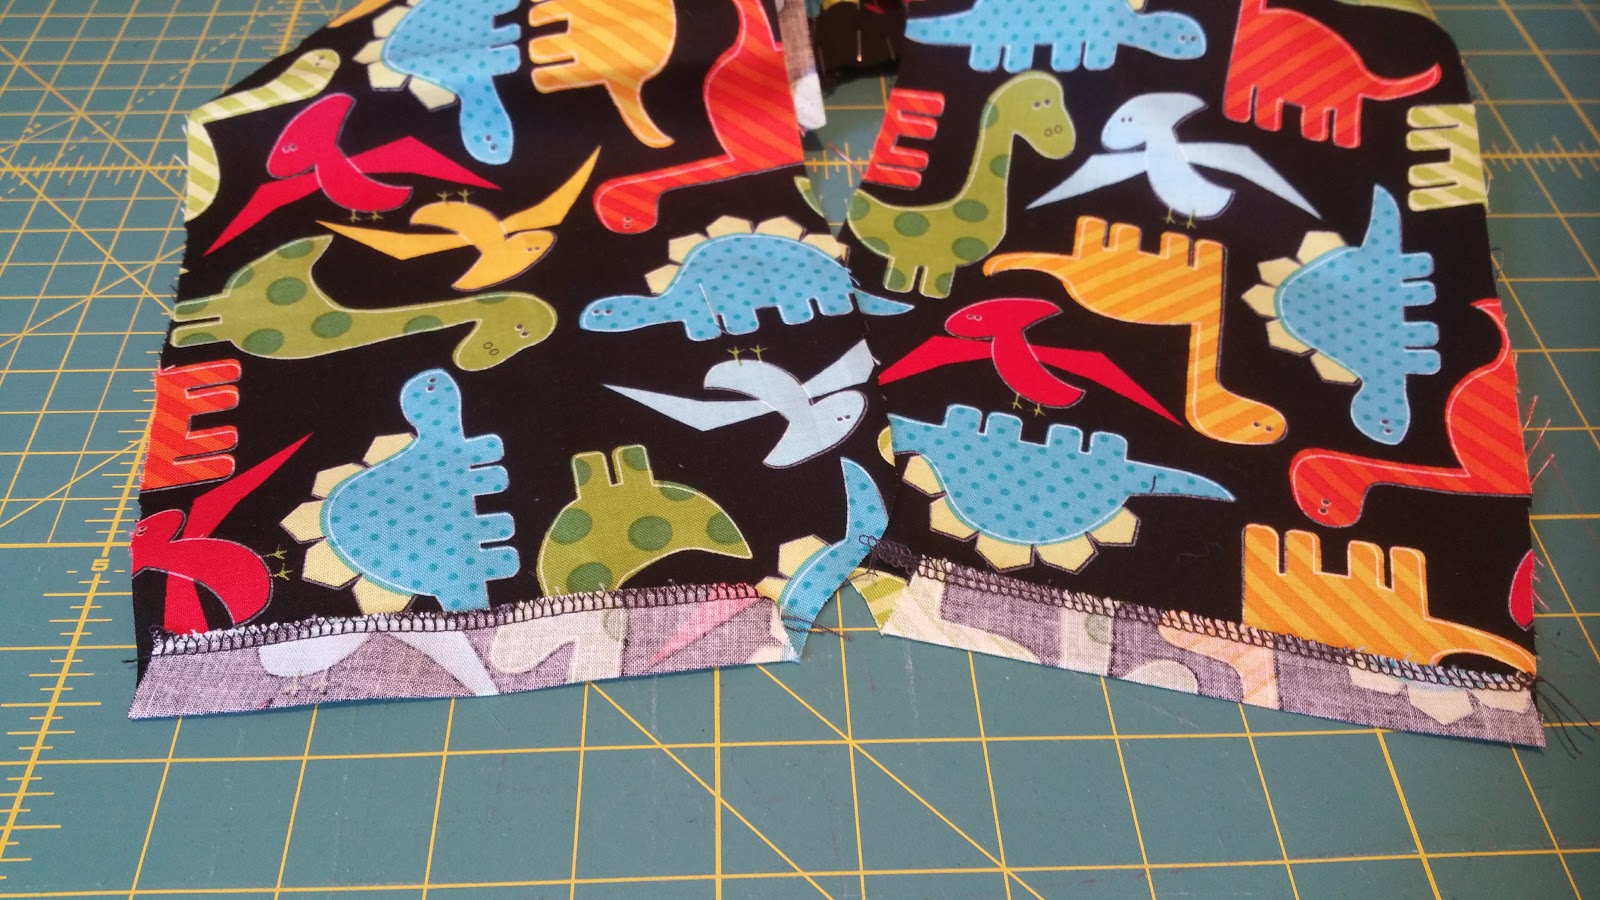
I've finished my edges with an overlocker to keep them neat.


The change mat is simply placed inside the cover like a pillow case.


Dufex Pyramage Blooms Cardmaking Project


I love adding narrow peel off borders around simple cards like this, they make them look so professional even though it's a very simple design.


Slow Cooker Chicken Teriyaki Recipe


Ingredients:
1kg Chicken
1kg Onions
Ginger
Garlic
Soy Sauce
Honey
Cider Vinegar
Cornflour


Pop the chicken in the slow cooker.


Chop the onions, add them to the slow cooker.


And the garlic, add this too.


Chop the ginger.


Put it in a bowl with the vinegar (about 1/3 of a bottle).


And the soy sauce (about half a bottle).


Then about half a jar of honey.

Give it a good mix.


And pop it in the slow cooker with some cornflour.


Give it a good stir.


Cook on low for about 5 hours.


Peek-A-Boo Dinosaurs Roly Poly Romper Sewing Project


I've been on a mission to find a pattern for Little Pickle that would make use of some leftover fabric from one of Little Miss' rompers.  With just nicely enough fabric to cover a new born's torso twice over I thought it would simple to find a pattern.  How wrong I was!  

After much valuable sewing time spent hunting I eventually bought this one and I'm so glad I did.  It's adorable!!  It's a fabulous stash buster and lends itself well to colourblocking so I'm sure it will get lots of use.


Tools and Materials:


Interfacing onto the front facing and back placket.


Finish the edges that will be left exposed - I just over locked them.


Sew back plackets together.


And snip curve.


Turn and press.


Sew onto back.


Turn up leg hems.


Turn


Top stitch.

Shoulder seams.


Fold the neckband and press.


Pin to romper.


Turn up bottom hems.


Sew on front facings.


Turn facing to inside


 and top stitch.


Set in sleeves.


Side seams.


Sleeve hems.


Bottom hems.


And finally the poppers.