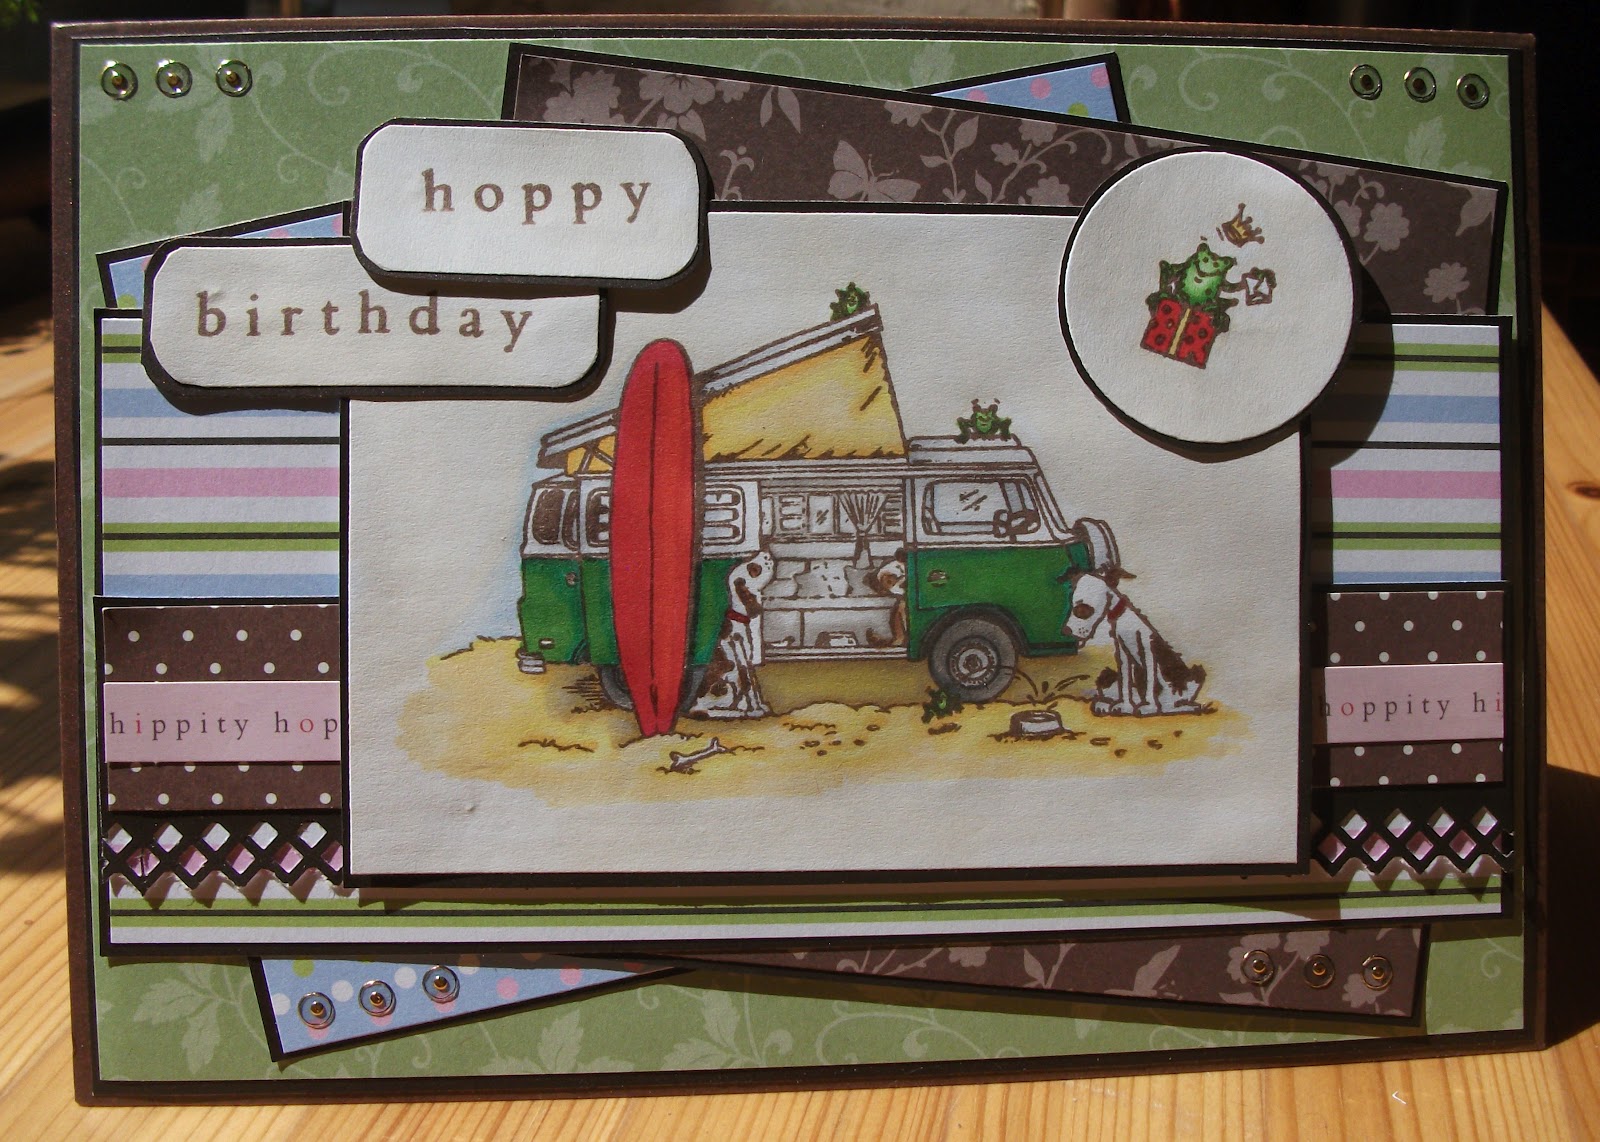
Hot Diggity Dog Card

I'm absolutely chuffed to bits with this card and with the gorgeous sunshine which meant I didn't have to get my light box out.

As a camper and dog owner I just love this image from Hot Diggity Dog.  The papers are also by Hot Diggity Dog and co-ordinate with the spring colours perfectly.  I've added a little extra interest with one of the little frog stamps and some leftover peel off bits.


Ingredients:

                                                               Stamp - Hot Diggity Dog
                                                              Papers - Hot Diggity Dog
                                                    Border Punch - EK Success Lattice Edger Punch
                                                Plain Paper - Centura Pearl Paper - Dark Chocolate
                                                                           Card Blank
                                                                          Pro Markers

Katy's Sketch Challenge 6th to 19th June

This is not my usual style of card, with the strips in the background but I enjoyed the challenge of doing something out of my comfort zone and after all that's the point of challenges!

I don't think flowers suit this range so I made some little tags using the tiny little stickers and bits from the  Designstax to make little tags where flowers are positioned on the sketch.


Ingredients:
Cardstock Stickers - Best Of British
6x6 Designstax - Best Of British 
Colorset Recycled Paper - Bright Red

I am entering this card into Katy's Sketch Challenge 6th to 19th June.

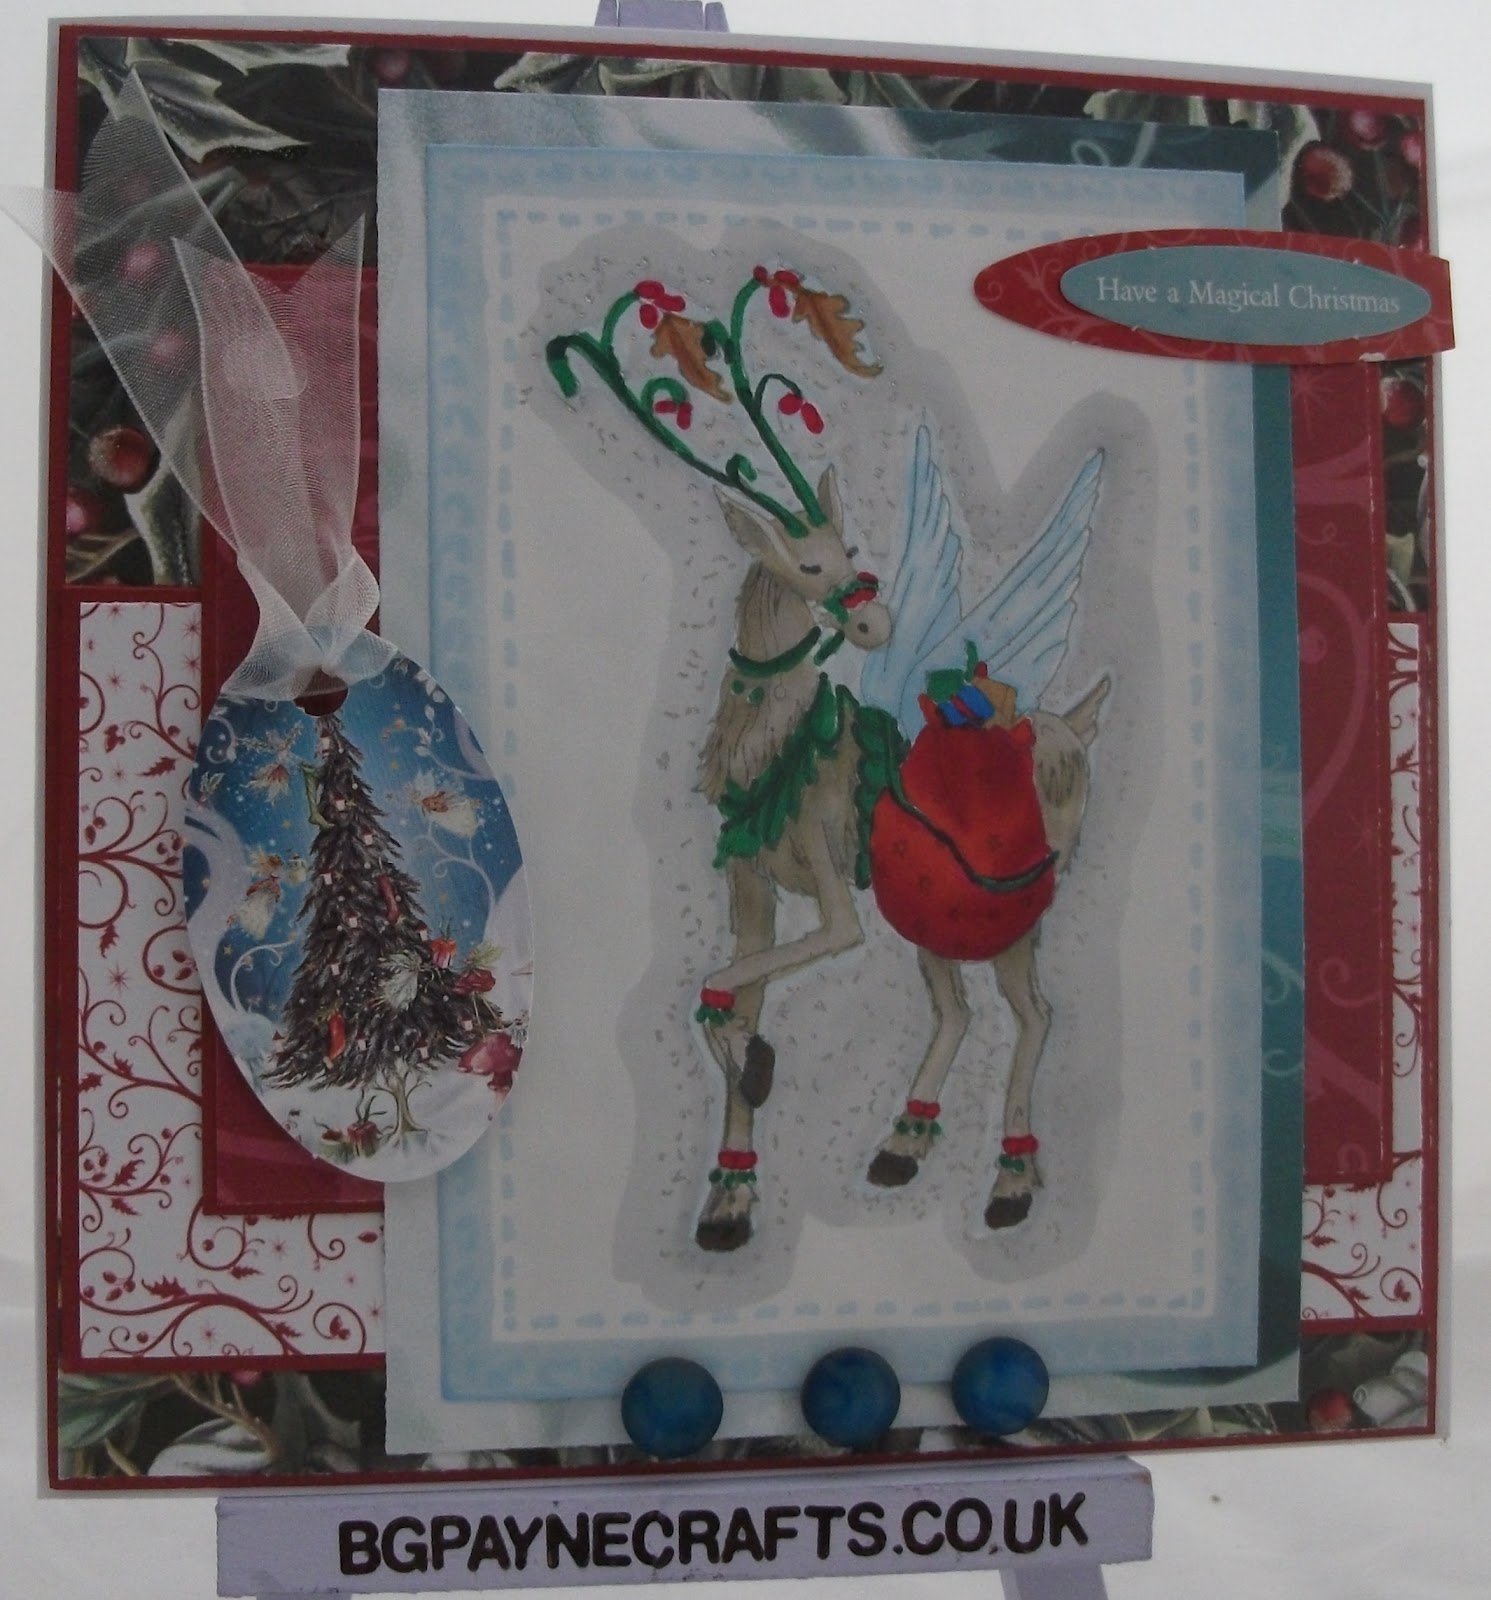
Christmas in June?

I love love the Papermania Enchanted Fairies collections!  The Christmas range was the only one that included red and blue for the Passion For ProMarkers Red White and Blue challenge - hence the very early Christmas card.  But it has reminded me that Christmas will come along all too soon so it's never too early to start!


Ingredients:
8X8 Die-Cut and Paper Pack (28PK) - Enchanted Christmas
5X7 Urban Stamps - Enchanted Christmas (Reindeer)
Assorted Buttons Boofle
Sheer Ribbon 15mm
ProMarkers - Cardinal RedHot PinkBerry RedArtic BluePastel BluePowder BlueTrue BlueHollyLush Green, Cool Grey 5Warm Grey 5CocoaCinnamonCaramelWarm Grey 3KhakiIce Grey 1Grey GreenWarm Grey 1 and Warm Grey 2.

I'm entering this card into the following challenges Sketch Saturday Week 211Totally Papercrafts Doodle on It and Passion for ProMarkers Week 152 Theme Red, White and Blue.


Best of British Male Card

I'm loving this really simple layout and the lovely shades of blue that make the Beefeater's red coat really stand out.


Ingredients:

I was going to enter this card into two challenges (really getting into this multi-tasking lark!) but ding bat me missed the deadline for entries at Sketch Saturday Week 210 DOH!  So that leaves Craft Challenge 158 - Male Card.

Indigo and Ivory Wellington

I have a slight obsession with this gorgeous little bear!  

The card colours are Indigo and Ivory which immediately made me think of the freebie papers included with the Do Crafts Creativity Magazine Issue 33.  

I have this theory that white and cream don't mix well together so this card features a technique I've been using in quite a lot of my cards lately.  Wellington has been outlined with a Pastel Beige Pro Marker.  I've then gone over this shadow in Ivory and then again in Ivory and over the whole of the white background using the chisel nib.  I only had a white card blank to hand so I've used the same technique on the very edges of the card so it co-ordinates perfectly with the rest of the card.


Ingredients:
Greeting Tag - ?
Pro Markers - Sandstone, Warm Grey 3, Warm Grey 2, Warm Grey 1, Black, Henna, Burnt Sienna, Pastel Beige and Ivory (for the background)


Forever Friends With Love

This is one of my all time favourite stamps.  I remember being delighted when it was released as a clear stamp as I just don't have space for many wooden ones.

This vintage theme is nothing like my usual style, it started with the Vintage Rose papers and kind of grew from there.  I'm really pleased with the result.


Ingredients:
Stamp - Forever Friends All Loved Up - Discontinued
Tags - Papermania

I am entering this card into two challenges (go me - multitasking!):

Happy Crafting!  
Hugs Bridie

Katy's Sketch Challenge

Here's my entry for Katy's Sketch Challenge 8th to 15th May.


Ingredients:

Bear Challenge no. 15: WOW

White on white with a bear, quite a challenge.

Ingredients:

DOLLY MIXTURE CHALLENGE 9

Here's a quick card using the new Michael Powell toppers and Designstax.  The topper has been matted and layered onto Centura Pearl mink paper then onto Michael Powell paper and again onto Centura Pearl mink paper.  The backing paper is from the pack included free with issue 33 of Creativity Magazine as is the postcard you can see popping out from behind the topper.  The paper border is from the Papermania Burleigh Blue collection.

Ingredients

Quick and Easy Lined Curtains

I've made these curtains more times than I care to remember.  As the proud owner of a huge inherited fabric stash it's one of the few ways I can completely change a room just because I feel like it.

These one's are for boyfriend's house, hence the rather masculine brown shade.  Not my taste at all but it will look very smart with his deep brown carpet and cream walls.

On to the destructions!

Measuring Fabric

I'm not a fan of messing about with maths.

Measure the window and make sure the you have enough fabric for the height of the window plus plenty for going just below and above for the curtain pole, plus loads of seam allowance.  I'd say 50cm minimum.

For the width there's all sorts of equations recommended, nah just make sure the width of the fabric is enough to completely cover the window.  Times two curtains / two widths this will give plenty of fullness and less cutting to be bothering with.

The lining fabric needs to be abut 20cm narrower and about 5cm shorter than the main fabric.

Press and Pin Hem

Take the bottom edge of each piece of fabric and fold it up about a half inch.  Your actual measurement doesn't really matter as long as it's roughly the same for all pieces of fabric.  Press the crease firmly.  Fold it up again this time slightly more, say an inch and press again.


Pin the crease in place.  Make sure that the pins are pointing downwards towards the edge of the fabric with the heads protruding above the fold.  Otherwise they'll be difficult to pull out later and you'll get owies or worse your sewing machine will get an owie!

Blind Hem

Wow, what a fantastic stitch!  I used to use a normal seam which looks terrible up close.  So I resigned myself to hand sewing hems - boring!  So I now have a pair of curtains with a pinned hem hanging in my living room!  Grrr, too many more interesting things to do with my life.

But this stitch is the solution.  And so easy peasy!

Load your machine with a thread that matches your curtains as close as you can get.

For starters you'll need a foot with a guide built in.  Well, in truth you don't NEED but for impatient sewers like me it is a must as it saves a lot of careful, slow sewing to keep the stitches in exactly the right place.


Set your machine to the blind hem stitch.


Place your fabric on your sewing machine so that the folded hem is towards the foot.


Fold the hem back on it'self leaving about a quarter of an inch exposed.  Like so:


Line to guide up with the edge of the wrong side of the curtain fabric and stitch.

The stitch makes zig zag stitches along the seam which will be covered on the wrong side of the curtain.  Every few stitches it will "jump" out and create a tiny stitch just catching the front of the curtain fabric.  As long as you keep the presser foot lined up those tiny stitches will barely show on the right side of your curtain.

How cool is that!?!

Sewing Seams

Place the curtain and lining right sides together and sew the side seams.  Your seam allowance doesn't really matter as long as it's the same on all sides and on both curtains.

Both seams must be worked from the top of the curtain down towards the bottom, not the other way round.

Find the middle of the curtain fabric and the lining fabric.  Bring them together and pin.  Lay the top of your curtain on a flat surface and smooth it out.  Your should have some of the curtain fabric showing on the wrong side, more to the point it should be roughly the same width on each side.  Pin the top to hold it in place.


Sew along the top seam.

Turn your curtains the right side out and give them a good press on all sides.

Top Stitch

This step makes your curtains look really crisp and professional.  It also holds your pressed seams in place when your curtains are washed.

Go back to you guide foot and set your machine to stitch just tot he left of the needle's usual position.


Line the guide up with the edge of the curtain and sew.


A little line of stitches just in form the edge.  Even in this photo you can see how much crisper the edge of the curtain is.

Curtain Tape

And now for the final step.  Cut a length of curtain tape just a tad longer than the curtain is wide.  Fold one end under itself and pin it to the back of the curtain.


Pin the tape along the top of the curtain until you get tit the other end.  Fold it under itself again and pin.  Stitch around all four edges of the tape stitching right through both layers of fabric.  At each end reverse over the stitches about three times to make sure it's super secure.

And you're done!
ProMarkers and Caron Vinson Rubber Stamps Coming Soon

I've had a very exciting day and I just had to tell you about it.

I've finally taken the decision to invest in ProMarkers and some really edgy stamps to do them justice.  Surprisingly no one's actually asked us to get ProMarkers in stock so it hasn't been a priority.  But I WANT them so I'm guessing I wont be the only one.


We're negotiating with Letraset right now and should have ProMarkers in stock very soon.  Watch this space!

Years ago we did a range of Caron Vinson die cut decoupage sheets which flew off the shelves and we shelves and we were inundated with requests for me which unfortunately we couldn't get at the time.  Whilst hunting for some really unique rubber stamps I came across Sweet Pea Stamps who work with artists to produce a stunning range of rubber stamps.  Including a range by Caron Vinson.  I ordered the lot straight away.  Now for the long wait while they arrive from the States . . .  sigh.


We've also got a selection of their Elizabeth Bell designs on order and some of the Terra Bidlespacher stamps too.


Because these stamps are coming from the states we're not going to be able to offer the full range within a sensible time frame and so they won't be available to order through our website until they actually arrive in stock.  Depending on interest we may offer them as a pre-order type option, I'm just concern about expecting you to wait a couple of months for a stamp!  But if you see anything on the Sweet Pea Stamps website we can now get it for you and will certainly be ordering based on what our customers want so your input will be very much appreciated.

Noah's Ark Challenge 3RD - 16th APRIL

This is my entry for the Noah's Ark Challenge which is being hosted by Kate on the DoCrafts forum.

This one is a recipe challenge giving a list of materials that must be included on the card.

So in that spirit here's the "ingredients" list:

And the tools: