Free Children's Sock Knitting Pattern


This is a straightforward simple sock knitting pattern for children's sized socks.  This pair are knitted in Regia Softy which unfortunately doesn't seem to be availible anymore :( 

The pattern can be knitted with any good quality sock yarn.  I'm a big fan of Regia yarns, I really have had several pairs that have lasted more than 10 years of daily wearing and machine washing.

Cuff


Cast on 40 stitches and divide them over three double pointed needles 
12 on the first, 16 on the second and 12 on the third.


Knit 2 stitches, Purl 2 stitches to make K2, P2 rib.


Continue in K2, P2 rib until cuff measures 2cm.

Leg


Change yarn if desired.

Knit in the round until sock measures 8cm long.  

Heel

Change yarn if desired.


Separate 20 stitches for the heel.

K20 rows

Slip1, K14, SSK, Turn

Slip1, P10, P2tog, Turn
Slip1, K10, SSk, Turn
Repeat last 2 rows until 10 stitches remain.


Change yarn if desired.

Pick up and knit 10 stitches on each side of heel.


Split heel stitches evenly across 2 needles

InStep


K to last 3 st, SSK, K1
K foot top (20 sts)
K, K2tog, K to end
K next row.
Repeat these 2 rows until 40 stitches remain.

Foot


K until foot measures 13cm.

Toe

Change yarn here if desired.

Arrange stitches over three double pointed needles 
10 on the first, 20 on the second and 10 on the third.

K to last 3 st, SSK, K1
K1, K2 Tog, K to last 3 sts, SSK, K1
K, K2tog, K to end

Repeat this row until 8 stitches remain.

Move stitches onto 2 needles.
Cast off both needles at the same time.


Here's the written pattern without the photos for more experienced sock knitters:

Cuff

Cast on 40 stitches and divide them over three double pointed needles 
12 on the first, 16 on the second and 12 on the third.

Knit 2 stitches, Purl 2 stitches to make K2, P2 rib.

Continue in K2, P2 rib until cuff measures 2cm.

Leg

Change yarn if desired.

Knit in the round until sock measures 8cm long.  

Heel

Change yarn if desired.

Separate 20 stitches for the heel.

K20 rows

Slip1, K14, SSK, Turn

Slip1, P10, P2tog, Turn
Slip1, K10, SSk, Turn
Repeat last 2 rows until 10 stitches remain.

Change yarn if desired.

Pick up and knit 10 stitches on each side of heel.

Split heel stitches evenly across 2 needles

InStep

K to last 3 st, SSK, K1
K foot top (20 sts)
K, K2tog, K to end
K next row.
Repeat these 2 rows until 40 stitches remain.

Foot

K until foot measures 13cm.

Toe

Change yarn here if desired.

Arrange stitches over three double pointed needles 
10 on the first, 20 on the second and 10 on the third.

K to last 3 st, SSK, K1
K1, K2 Tog, K to last 3 sts, SSK, K1
K, K2tog, K to end

Repeat this row until 8 stitches remain.

Move stitches onto 2 needles.
Cast off both needles at the same time.


Linking Up To:

Pin this knitting pattern for later.

Here are some of my previous knitting projects:


#freeknittingpattern #freesockknittingpattern #knittingchildrenssocks #sockknitting #strictlysocks #handknitsocks #knitting #knittingpattern #sockknitters

Polkadoodles Holly Sparkles Christmas Unicorn Handmade Card


Say hello to Holly Sparkles Christmas Unicorn.  She's sure to light up any little girls Christmas.  She's part of the Winnie White Christmas range from Polkadoodles.  

I've kept the colouring very subtle and really went to town with the sparkly glitter on her hat and scarf, mane and tail.  Each layer is accented with a gold foiled edging.  I've included a little flower that's just loaded with oh so much glitter and accented with a big silver pearl at it's centre.  There's some silver ribbon in the background overlaid with some beautiful organza gold ribbon.  I've added a 3D greeting panel which reads "Happy Christmas" and embellished with two sets of three golden pearls.

You can buy this card from my NuMonday shop or see below to get the materials you need to make your own.

Tools and Materials:

I earn a small commission when products are purchased through the links I post here (at no additional cost to you). 


You can buy this card from my NuMonday shop.

Link Ups:

Here's the sketch I followed from Mojo Monday:


Feel free to take inspiration from my design.  Why not pin it for later?

#simplycrafting #polkadoodles #firsteditionpaper #handmadecardsforsale #numonday


Hunters Chicken Budget Batch Cook Recipe


Tender pieces of chicken dripping with salty spicy barbecue sauce topped with bacon and grilled cheese.   Oh wow, you're mouth is watering right?  Mine certainly is and I've just eaten this delicious dish, I could so have it again.  Which is a good job because I have another 5 family sized portions in the freezer.  


Tools and Ingredients:
1.8 kg Chicken Thigh Fillets £7.95
500g Bacon £1.75
500g Cheese £1.99
Tomato Puree 33p
3 Tins Chopped Tomatoes 87p
Worcester Sauce 65p
BBQ Seasoning (half jar) 30p
Balsamic Vinegar (half bottle) 29p

Total = £13.26
Makes 18 servings = 74p  per serving

Food purchased from Aldi

I earn a small commission when products are purchased through the links I post here (at no additional cost to you). 


Start by emptying the cans of chopped tomatoes into a good sized pan.  That's a full portion of veg so if you serve this with another vegetable on the side it's a perfectly balanced and healthy meal.

Add the tube of tomato puree.  This makes the sauce a little thicker and a little more flavoursome.


Next the magic ingredient - Worcester sauce.  This give the BBQ sauce a real tang.

Add the same amount of balsamic vinegar to really heighten that mouth watering tang.


And then half a jar of BBQ seasoning.  

Bring the sauce to the boil, it will smell delicious already.


While the sauce is boiling dice the chicken and divide it into equal portions.  I'm using 6 dishes each of which should feed three people (or in my case two adults and two toddlers).


Next blend the sauce.


And pour it over the chicken.


Top with rashers of bacon.


And a generous layer of cheese.


Pop it in the oven for about an hour at 180 degrees / gas mark 4.

Make sure the chicken is cooked through before serving.


I'm linking up to:


Pin this recipe for later.

#simplycrafting #budgetrecipe #batchcookrecipe #chicenrecipe

Max and Meena Rompaloones Dragon Romper Sewing Project


Oh my goodness this dragon outfit is so stinking adorable!!

I've made it with Halloween in mind so it's sewn from thick cuddly rib fabric which will be lovely and warm on a chilly nights trick or treating.  It's a little on the baggy side so it will fit over everyday clothing in place of a coat or pram-suit.  

The features I've added aren't actually part of the Max and Meena Rompaloones pattern I've used.  They're taken from the Mega Max Raglan pattern and I've hacked the patterns to make them fit the Rompaloones hood.  I've altered the dragon wings a little and lengthened the body so it fits a little more loosely to be worn as an outer layer.

If you'd like to buy this Romper (it's a size 18 months) head on over to my NuMonday shop but be quick, I'll be having it myself before Halloween arrives!!  If you'd like to see how to make your own carry on reading and I'll share exactly how I did it.

Tools and Materials:
       

I earn a small commission when products are purchased through the links I post here (at no additional cost to you). 

Cutting Out

My Little Pickle has quite a long torso compared to his leg length.  His rompers are often pulled tight between his shoulders and nappy long before he grows into the leg length.  To extend the body length I have cut across the body part of the pattern and added an extra bit of paper to extend the body by a few inches.

In order to accommodate the horns I added half an inch seam allowance to the front of the hood pattern piece.  Then I cut away the first few inches of the hood front.  This is based on the hood design included with the Mega Max Raglan pattern.

The tail, horn and spike pattern pieces are taken from the Mega Max Raglan pattern.

Bum Circle


The trick with the bum circle is to lay the body and the bum circle both right sides down.  Then pinch the two pieces of fabric right sides together.  


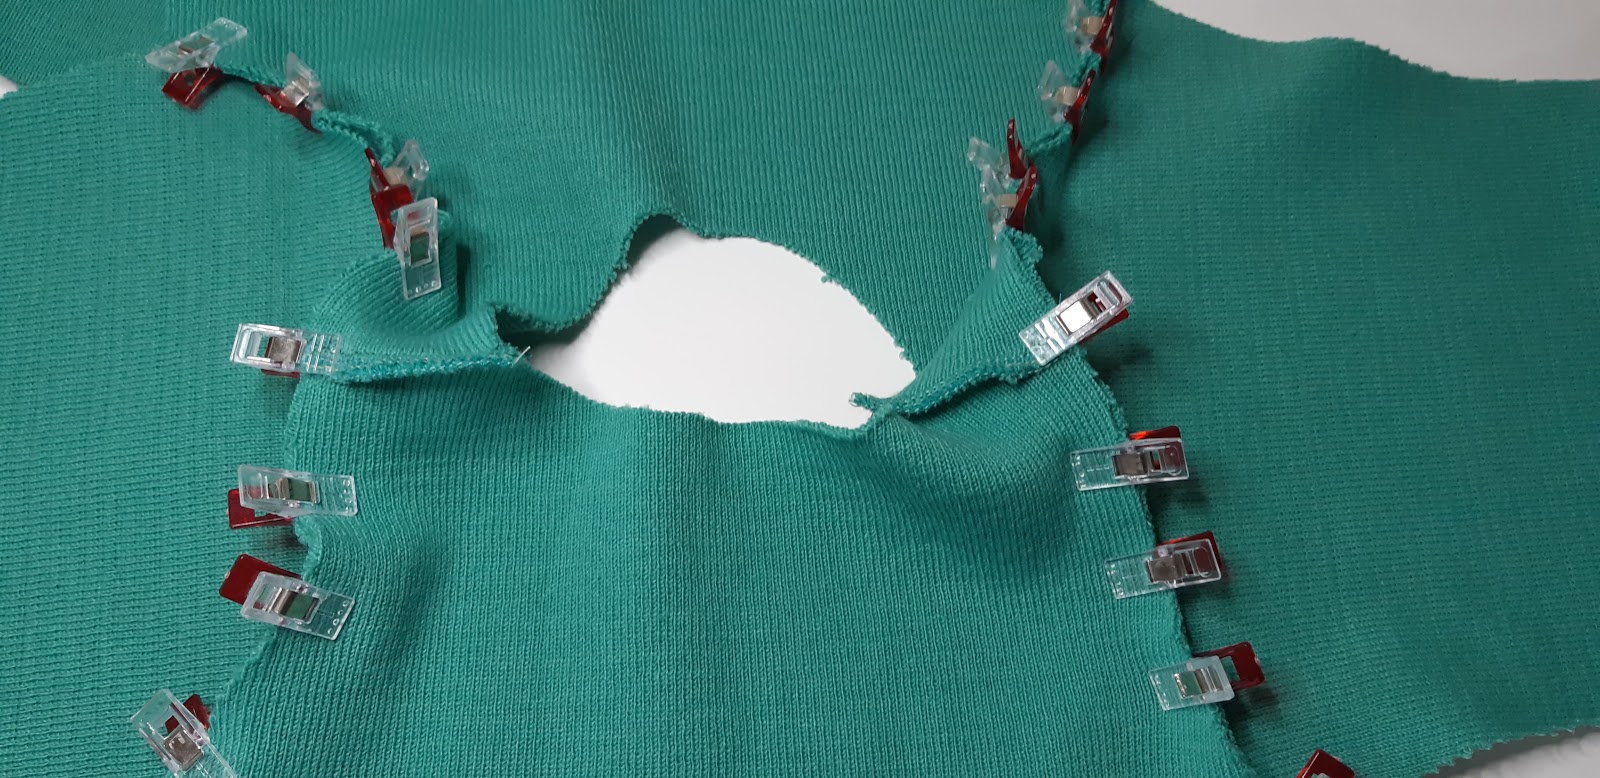
I normally use pins but this rib is very thick and stretchy so I'm using dressmakers clips to help keep it's shape.


I give the bum circle a really good press from both back and front before top stitching o the body side.  This holds the seam in place perfectly.

Basic Construction


The basic construction is really straightforward, shoulder seams and then setting in the sleeves.


I double stitch all my seams, first with my sewing machine using a stretch stitch them again with my overlocker (serger).

Wings


The wing pattern is taken form the corresponding size of the Mega Max Raglan pattern.

I've applied interfacing to the wrong side of one of each pair of wings.  

After stitching them right sides together I've clipped the curves and trimmed the seam allowance.


This gives a nice neat finish when it's turned and pressed.


I've eyeballed the stitching on the wings and added some extra lines of top stitching.  


The wings are sewn into the sleeve seam first.  I've rolled up the wings and pushed them into the sleeves so they are out of the way of my stitching.

You can see the inch or so of the wing sticking out.  I re-arranged it after taking this picture, The wing needs pulling back that inch so that it doesn't overhang the sleeve or it interferes with the cuff.


It takes some jiggling to get the wing into the side seam.

Hood, Horns and Spikes


I'm starting with the horns.  They are straightforward enough, sewn right sides together then thoroughly clipped.  I've stuffed them with toy stuffing and sewn the open ends together to make them easier to sew in place.


I've sewn the horns in between the main part of the hood and the extra strip I've cut out.


The spikes are sewn in the same way as the horns.  But I haven't added any stuffing as I want these to be quite flat.  


The hood is then sewn up in the usual way - with a lot of clips to keep all those spikes in place!


Oh my goodness it's really coming together!!


The lining is sewn in place as normal.


Right sides together with the main hood.


And the hood is then stitched onto the rest of the romper.


Just look how cosy that looks!!

Snap Strips


I didn't cut the snap support strip.  I've had an issue with the snap strip tearing on a recent pair of Rompaloones.  I came across the idea of using a woven ribbon instead, so I'm giving that a try.


Lots of clips for sewing the snap strips in place.


I top stitch along the edge of the snap strips to make sure they're really secure.

Bands


I switch to a straight stitch when sewing my bands. It allows them to lie just a little flatter.


I also press them open to get a really neat finish.


Before sewing them in place.


And applying the snaps.

Tail


I've made lots of clips in the curve of the tail.


After stuffing it I've turned the raw edges to the inside.  I'll hand sew it in place.


You can buy this Dragon Romper from my NuMonday shop or you can use the links below to get the materials you need to make your own.

Tools and Materials:
       

I earn a small commission when products are purchased through the links I post here (at no additional cost to you). 

Linking Up To:


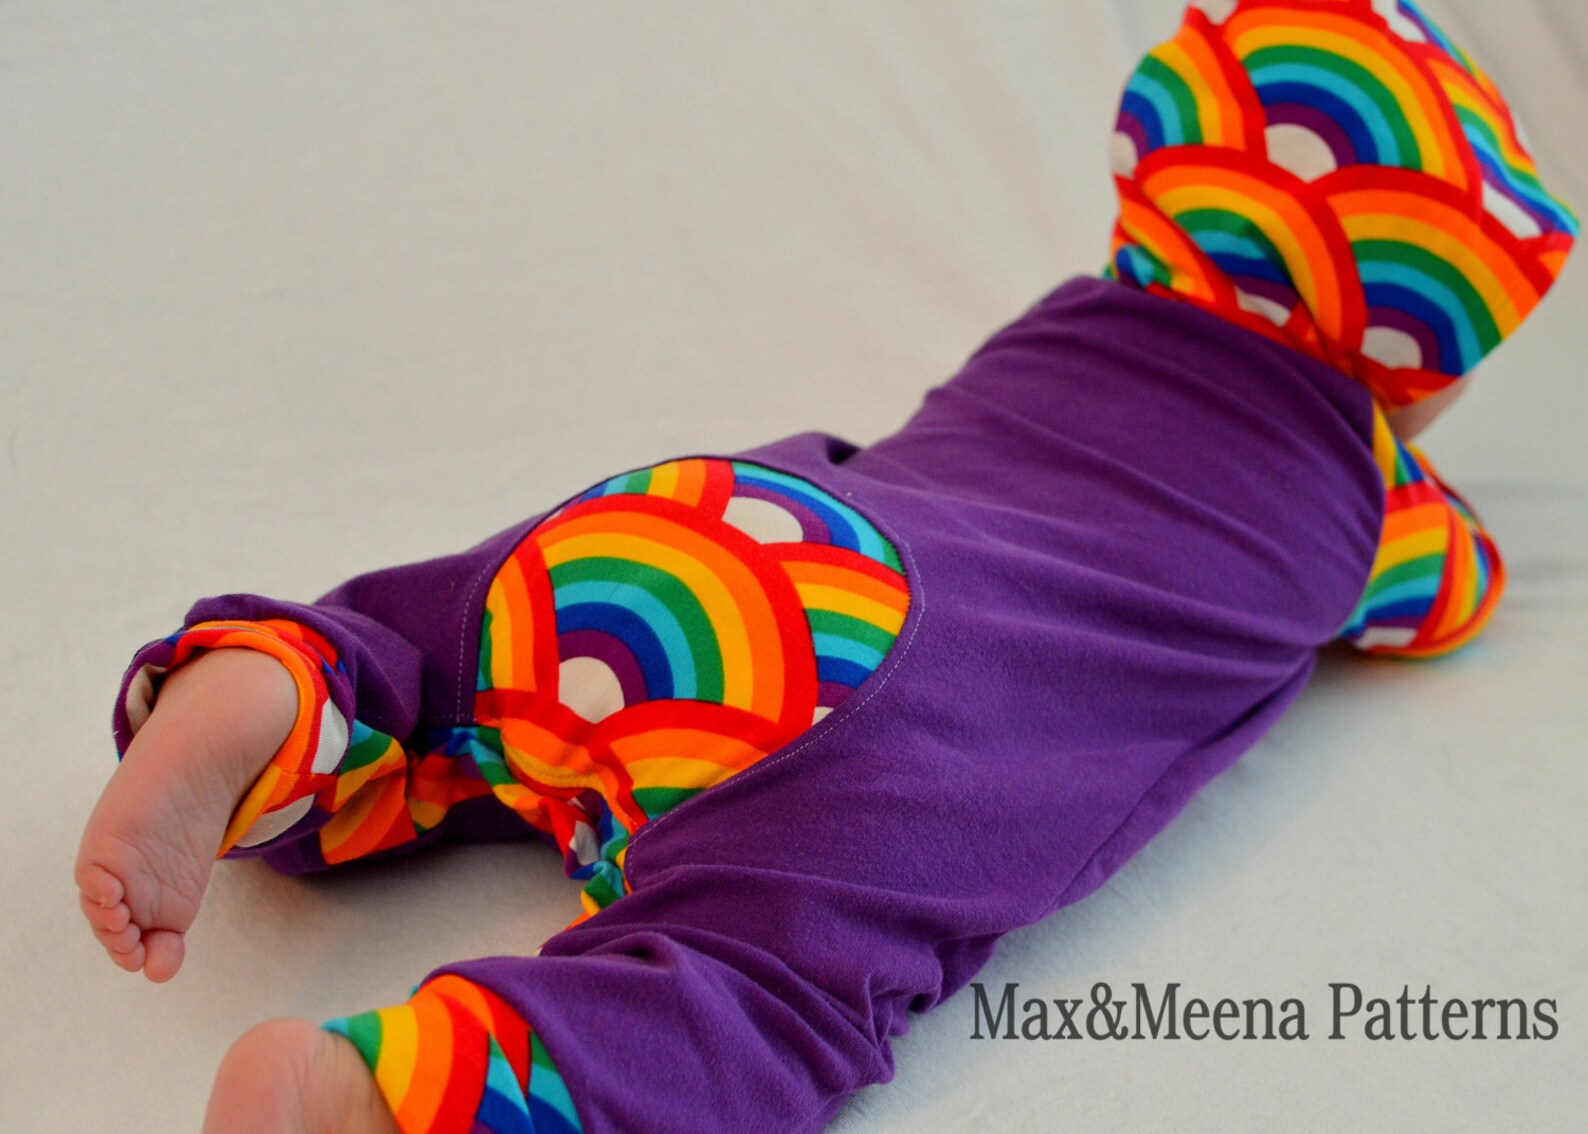
Here are some of my previous sews with the Max and Meena Rompaloones pattern.


#simplycrafting #sewingchildrensclothes #handmadechildrensclothes #handmadechildrensclothing #sewingkidsclothes #sewngforkids #maxandmeena