Wrist Pincushion and Thread Catcher Sewing Project


I have a very old me-made pin cushion that I've been securing to my wrist with an old hair band.  It does the job but the pins go right through to my arm.  

Altering it didn't seem like a big enough sewing project to warrant the term so I'm also making a little thread catcher in the hopes of reducing the thread scraps that end up on the floor after a sewing session.


Tools and Materials:


I started by unpicking my old pin cushion.


And slipped some scrap cardboard inside to protect my poor wrists.


I made a loop of elastic about the right size for my wrist.


I slipped stitched this to the back of my pincushion.


Now for the thread catcher.  I've cut two pieces of fabric 11" x 5.5" and ironed interfacing onto the back of one of them.


I stitched each one right sides together.


Leaving a small opening in the un-interfaced one for turning.


I found a round object with about the same circumference as the outer edge of the thread catcher.  I used it as a template to make the base.


Two circles, one with interfacing.


Then I pinned and sewed the base onto the thread catcher.


The lining is made in the same way without interfacing.


I put them right sides together and stitched the top edge.


Turned right side out and top stitched.


Our 10 Favourite Batch Cook Recipes

No new recipes for this week because I've broken my hand and can't chop any veggies.  It's time like this that I'm really glad I batch cook.  I have a freezer full of cheap, healthy and tasty meals that are really quick and easy to re-heat.

So instead of a new recipe, here's a re-cap of the ones we go back to time and time again . . . 

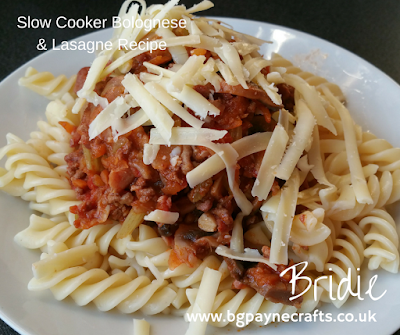
Slow Cooker Bolognese & Lasagne Recipe


We had this last night, I can say that quite a lot.  It's simple and tasty.  Hubster goes mad for the lasagne.  

Slow Cooker Italian Pork Stew with Summer Herbs


Another one of the hubster's favourites.  I'm not a big fan of pork but he always requests this recipe.

Spicy Chicken Soup


This has become my go to soup.  I've some for lunch today in fact.

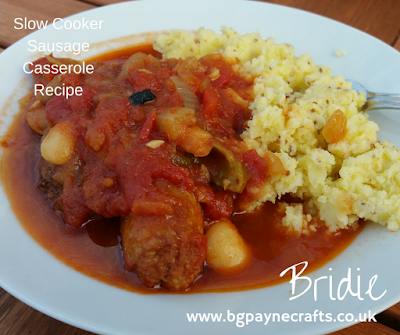
Slow Cooker Sausage Casserole Recipe


This one is a favourite with the kids.

Slow Cooked Pulled Pork and Beans Recipe


Another pork recipe that the hubster keeps requesting.

Slow Cooker Chicken Tikka Masala Recipe


My all time favourite, can't live without curry recipe.


Comfort food at it's finest!!

Slow Cooker Chicken Teriyaki Recipe


So flavoursome.


More comfort food.


Lovely with salad in the summer or rice in the winter.  

Burda 9828 Denim Romper Sewing Project


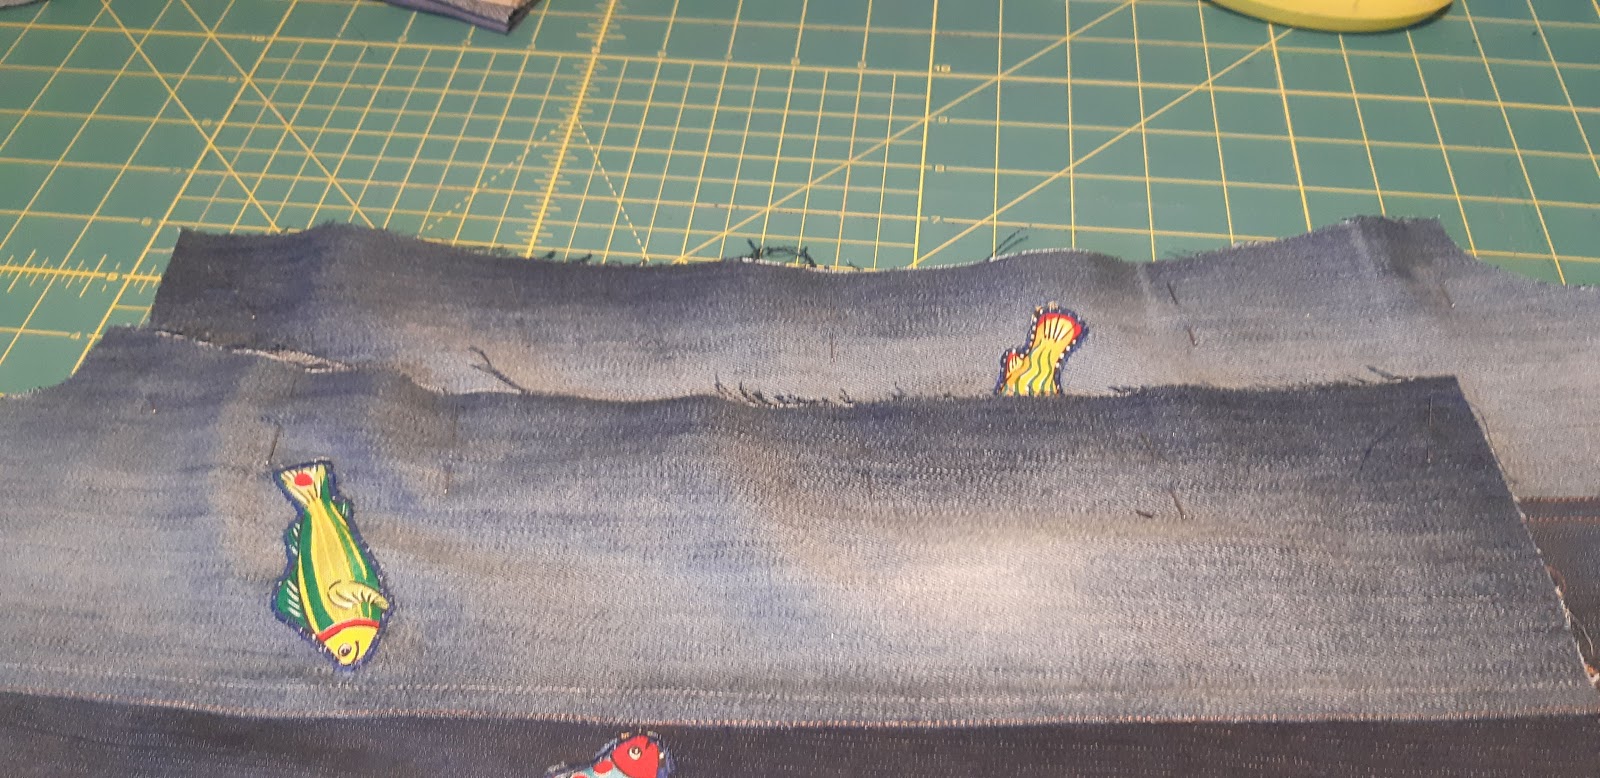
These took ages to make, what with the flat felled seams and the applique I decided to add with some leftover quilting cotton.  Not to mention all the messing about trying to get the pieces cut from old jeans that were too narrow - hence the additional seam along each centre pant.  I'm reasonably pleased with the result but not too sure about the contrasting denim.  I think in future I'll take care to choose old jeans of the same colour.  


Tools and Materials:


My old jeans aren't wide enough for the pant leg pieces.  


So I've folded and cut the pattern piece along the centre seam plus the seam allowance of 1.5cm.


I've also extended the pant legs using the facings - this should mean that the pants can be folded up at the hem and let down as Little Pickle grows taller.


Wrong sides together, pin and sew parts of pant leg.


Trim away one side of seam allowance.  This line of stitching will be hidden.


Fold remaining seam allowance in half and press.


Open out the fabric and press.

Sew along folded edge of seam allowance.


Applique.


Pin and sew inside leg seams.


Pin and sew crotch seam.


Pin, sew and serge bib.


Finish waist and sew elastic casing.  Insert elastic.


Pin sew and serge side seams.  These can't be a flat felled seam as the fabric can't be laid flat.


Press up bottom edge of bib lining.  Pin and sew to bib front.


Turn, press and top stitch.


Fold straps right sides together.  Stitch straight end and long side.  Trim corners.


Turn, press and top stitch.


Sew slanted ends to waistband.


Finish edges of pocket.


Turn top to right side and sew seam.


Turn and press seam allowances to wrong side.


Top stitch in place.


Finish hems, turn, press and stitch in place.


Sew buttons and button holes.