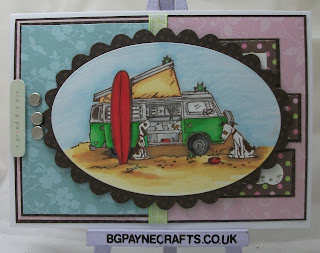
Digital stamps are fantastic because they are so much cheaper and take up far less space them traditional rubber or clear stamps. You can also rotate and re-size the images giving you the option to create a big card without having to invest in a large stamp.
Paper
When coloring images with ProMarkers they are best printed onto Bleedproof Marker Paper. At 70gsm this paper is very thin and causes problems for many printers. Before loading your paper onto your printer attach a sheet of plain printer paper to the wrong side of the Bleedproof Marker Paper with a little adhesive in an unobtrusive place such as one edge. It isn't very obvious but the Bleedproof Marker Paper does have a right side which is the side facing you when you open the pad.
Printing Digis in Microsoft Word
Find the image you want and right click and select Copy. Open a new Microsoft Word document. Right click and select Paste.
Select your image and drag one of the corners to re-size the image.
You can also select the image and specify the exact height or width under the Format menu. If you wish to keep your image proportioned as it was intended to be only alter either the height or the width not both.
If you will be using your die cutter to cut around your image it is best to center align the image so that your shape doesn't end up off the edge of the paper. Just select the image and click the center paragraph icon.
Click the Office icon on the top left hand corner and then click Print. You can double check your image before printing by clicking the Print Preview option first.
Printing Digis Using DoCrafts Digital Designer
The DoCrafts Digital Designer software is included with all of the
DoCrafts Digital Designer CDs. I find it very easy to use for printing other brands of digi images too.
Open the
DoCrafts Digital Designer software and create a new project using an A4 size paper. I adjust the zoom settings at the bottom of the screen so that I can see the whole A4 page. This helps me to layout a few different images on one page and get the most out of my
Bleedproof Marker Paper.
Click the Photo icon at the top right and find the image you want. Double click the image and it will be imported into
DoCrafts Digital Designer.
Use the ruler at the top and side of the page as a guide and drag one corner of the image until it is the right size. You can change the ruler from the default inches into centimeters by clicking the IN icon at the top left hand corner where to top and side rulers meet. This will then change to CM.
Once re-sized images can be moved around the paper by simply dragging them, making it easy to arrange multiple images to make the most of a single sheet of paper.
When happy with your designs click on the Print / Share icon at the bottom right hand corner of the screen. Select Send to Printer and click Print.
After Printing
Just like traditional rubber and clear stamped images the printed ink needs a little time to dry. If you are impatient you can use a heat gun but I tend to print my image then design my card while the ink dries.


